Good Morning!
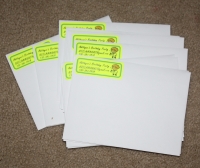
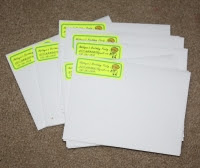
This morning AN started inviting his friends for his birthday party. Here is the super cool hand made (with the help of a home printer and CVS Pharmacy) invitations.
Oh, come on! Of course this is an edited version of the original card. I certainly did not give out something that read "Your child's 7th birthday!
Not bad for 11 cents each! Would you like to hear the story behind this?
SN & I decided to throw a Mad Science party and that brought us to the whole dilemma of whether to create invitations or buy them? If buying where do I buy those from, Internet sites (like etsy) or just buy from Mad science itself? We needed around 25 invitations. In the spirit of my making things myself this year, I decided to give it a try. I have to say it turned out pretty good.
If you start making, you will never ever buy birthday invitations. And Mad science invitations are so hard to find, the ones you find are super expensive. If you have around 1-2 hours (with an additional 1 hour for pharmacy printing), you can do it! And that "Mom, you are awesome! You can make invitations!" from your son is worth all the effort :-)
And better yet, you can involve your children, They will love clip arts. Trust me. I've seen my son jumping up and down when he could drag a rocket picture into a word doc.
Ready?
Grab your supplies. You will need:
A Windows computer with Microsoft Word 2003 or later (tech jargon for release after 2003) (Note: I am not marketing)
Paint.NET photo editing tool. You can get it for free here. If you have another photo editing tool that you are comfortable with, go on with that, if it can clip a picture it will work!. http://www.getpaint.net/ Box of envelopes that can hold 4 X 6 Pictures ( I bought (1) 50 count box from Staples for $5.00)
Pencil and a sheet of blank paper to sketch your design
Birthday kid and siblings if available
Got everything? Let's start.
Step 1: Decide the card size you want and open PAINT.NET and set up a new picture project
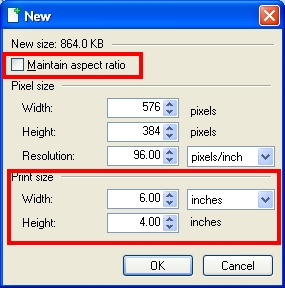
Open PAINT.NET and Click on New icon to create a new picture. Choose the print size you want. I chose to do a 4 x 6 print.
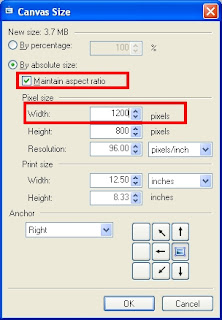
Now, the most important part. Click on Image (menu on top) -> Canvas size. Change the width to 1200 pixels keeping the aspect ratio ON. This is to ensure your picture won't be distorted when you print the invitation.
Step 2: Sketch your design
On the blank sheet of paper, layout a draft of how you want your invitation to look like. Skip this part if you are comfortable with your photo editing tool, you can design as you go!.
Step 3: Decide on the pictures you want on your card
You want to make invitations? Clip Art is your friend! The pictures are free to use, no copyright issues, as long as you download it from your word document tool. Let's go find the pictures we need!
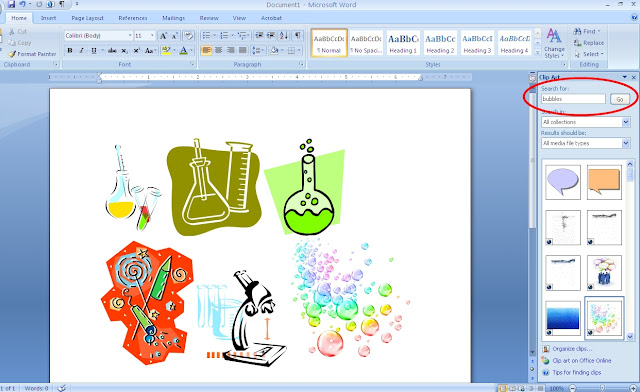
Open a new word document and click on the menu Insert->Pictures->Clip Art. Type in lab and click the Go button to get the pictures with the tag: "lab". Drag a picture to the document. Use other keywords like "scientist", "beaker", "test tube" etc to find the related pictures.
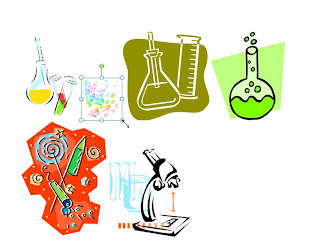
I decided to use the above pictures in my card. Go crazy and find the pictures you love most. Choose images that are not too small in size. You want a high resolution image so when printed it won't look grainy. In layman's terms, if you can enlarge a picture without distorting it then it is a high resolution image.
Step 4: Resize your clip art and transfer to PAINT.NET
I resize the pictures right in Word to fit the design I had in my mind. Make sure you use the diagonal re-size arrow to keep the picture intact without distortion. Now right click and copy and paste to PAINT.NET
Step 5: Type in matter using the Text tool in PAINT.NET, Add Borders etc
Try different fonts, rearrange the pictures, play around, do it until you get something you love! I just love the free style font. It's a mad science party and scientists love scribbling! Perfect.
Step 6: Upload and pick up
Upload to your favorite photo printing place. Remember
to use coupons. Also use the print size as the one that you selected in inches in step 1 (4 x 6 in my case). It cost me $0.71 after coupons.
Step 7: Get the envelopes
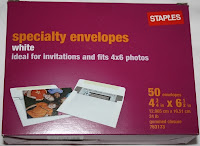
I used these from Staples (it was on sale for $5.00)
Step 8: You are done! Look at the envelopes, and cards and be proud of yourself. It cost me around 11 cents each! Awsome, huh?
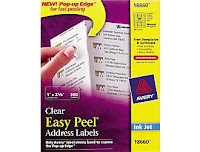
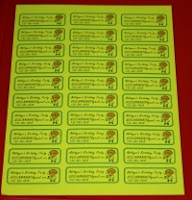
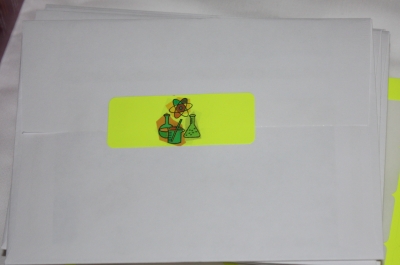
In the next post, I will tell you how to create these custom stickers and address labels!


 How did I do it? I ordered the lab coats from Mr. Disposable Inc in Brooklyn, NYC. SN picked up the coats in person, and told me the staff was very nice to him. He did call in advance and ordered the lab coats in the right sizes for all the kids according to our guest list. It was a hit, I am patting myself for deciding to go with the lab coats.